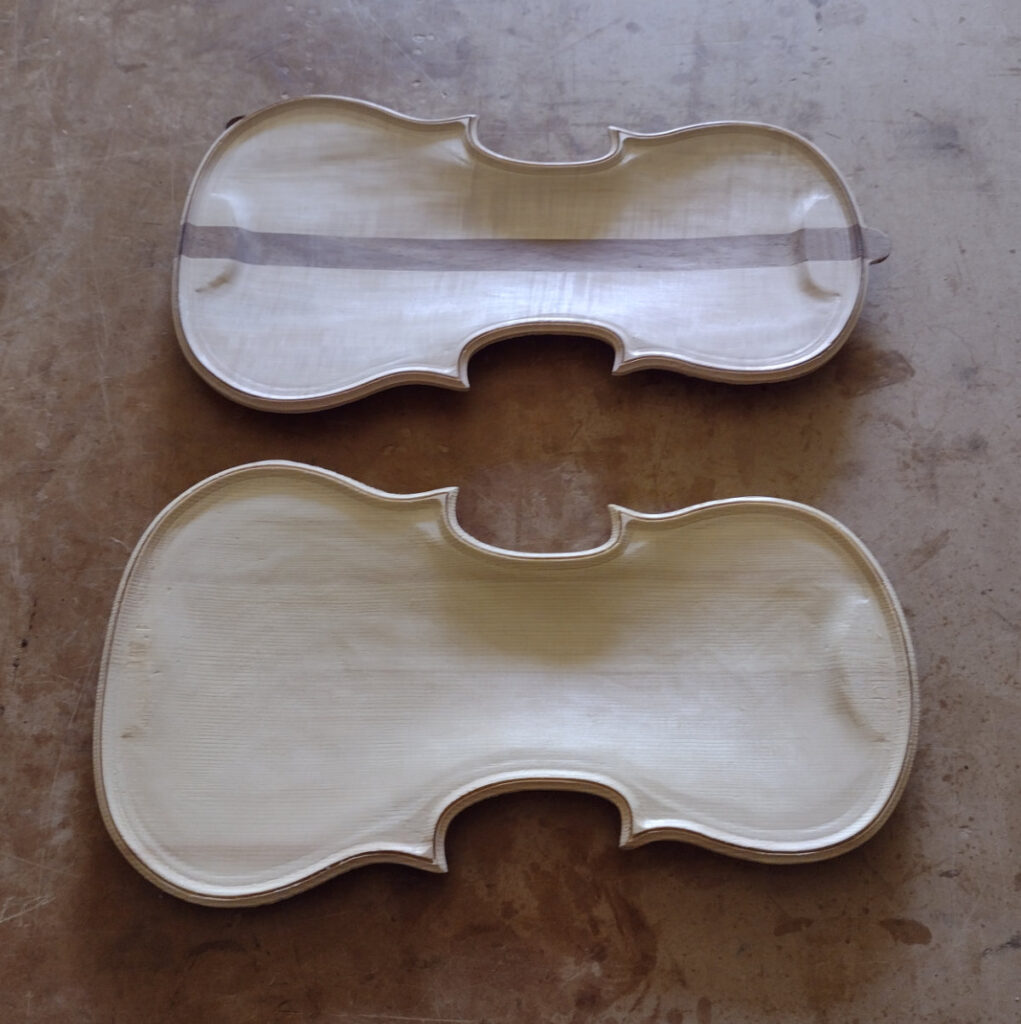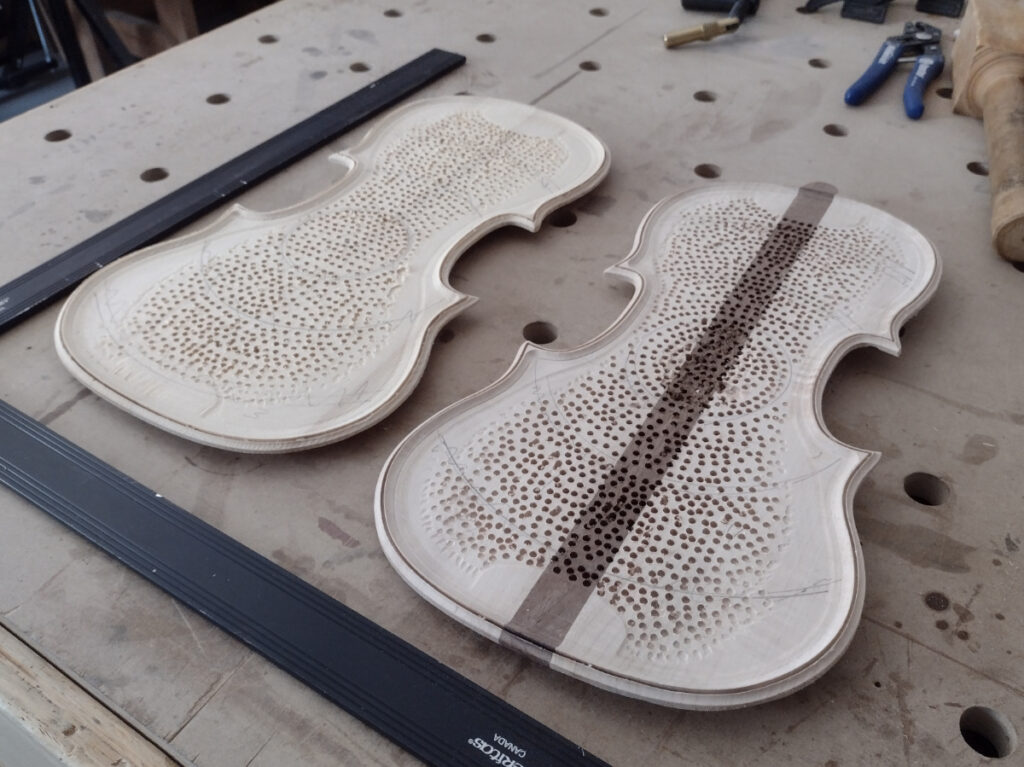
My original plan for this instrument was to eliminate the use of glued-in linings and machine shoulders with grooves directly into the plates. That worked fine for the bottom plate. Unfortunately the ribs aren’t all exactly perpendicular, so there is some minor variation in the profile where it was intended to fit into the grooves in the belly plate.
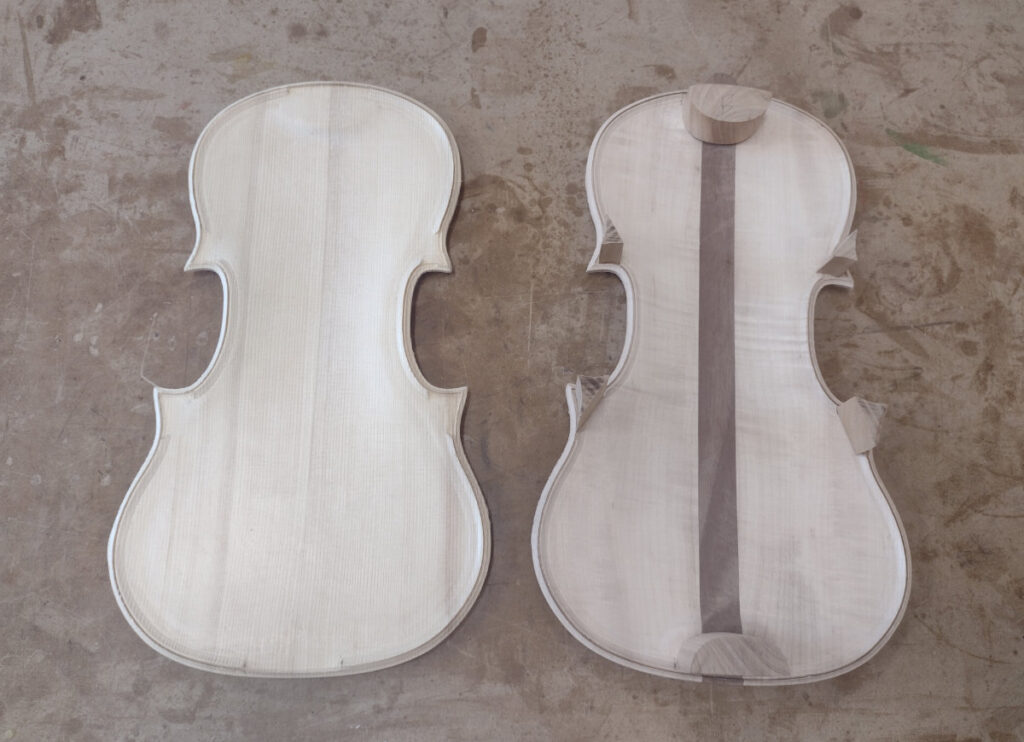
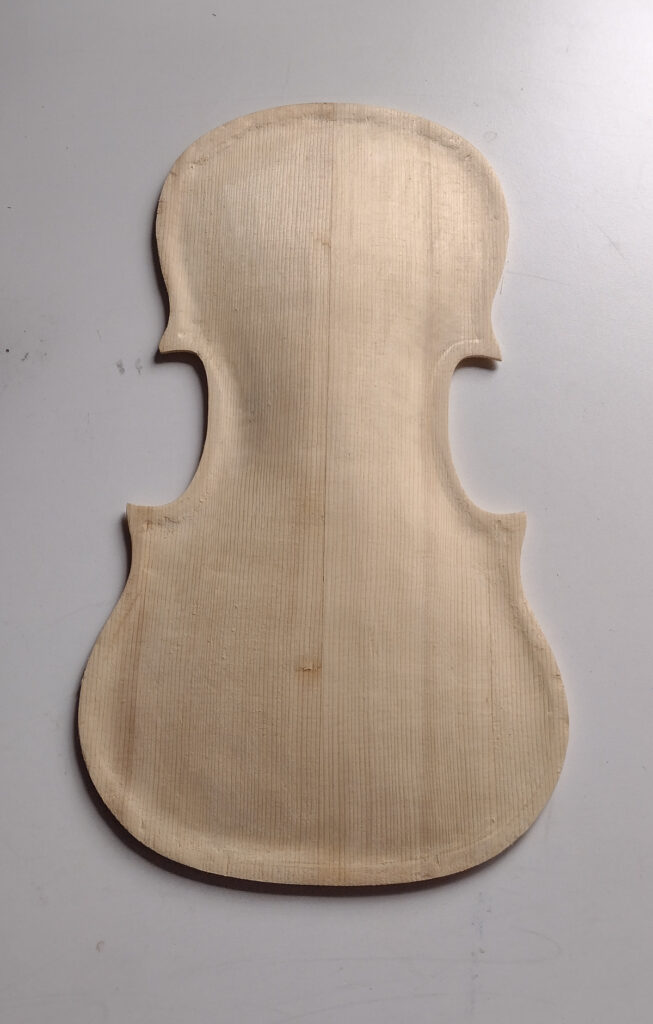
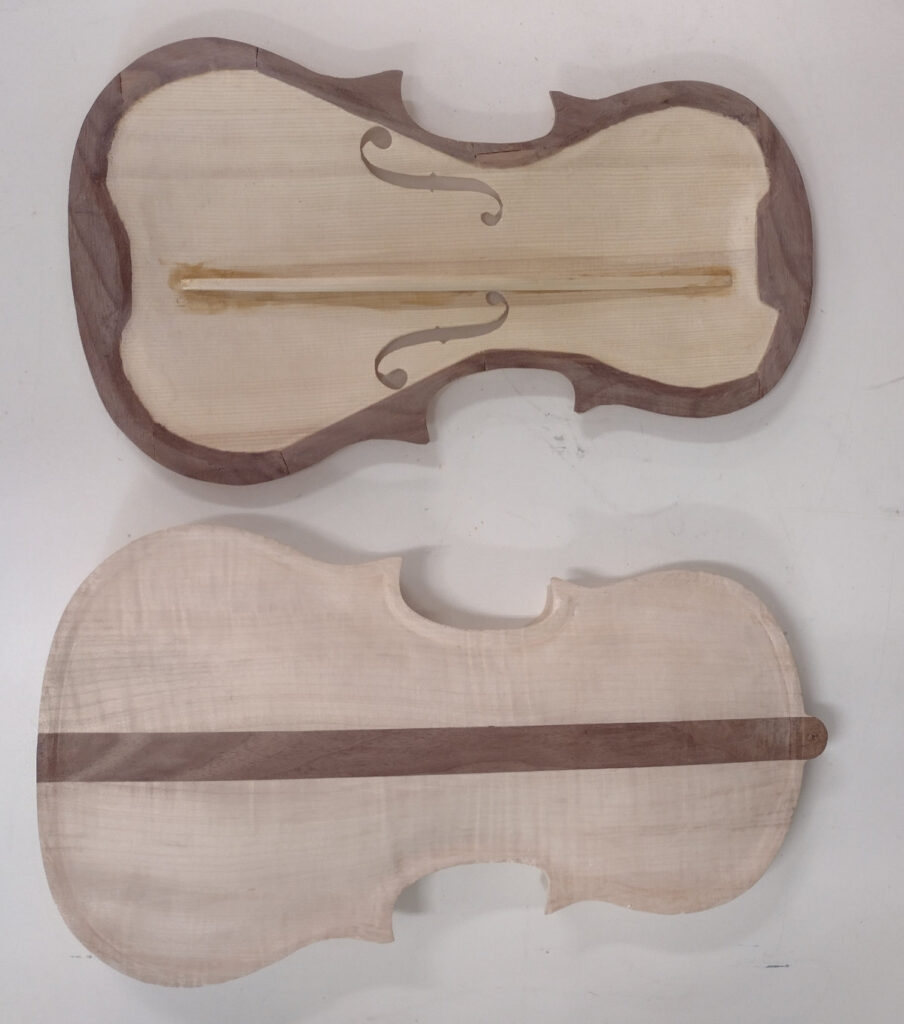
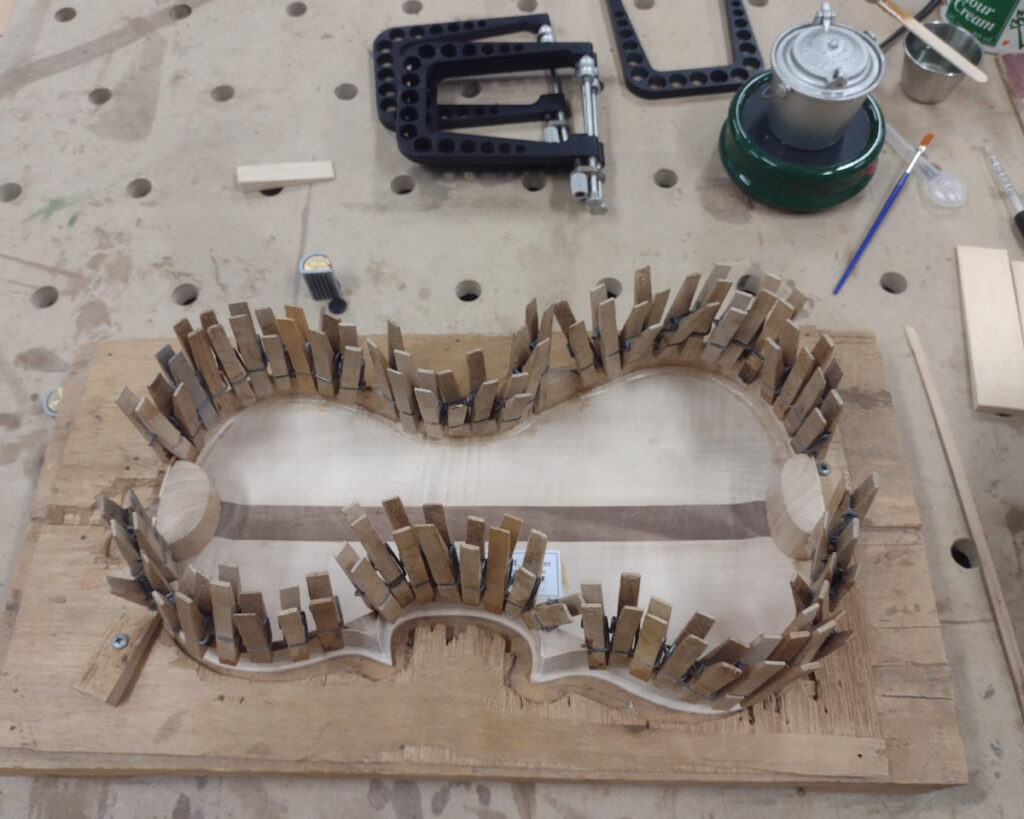
My solution was to plane off the shoulders, glue linings onto the ribs, and assemble in the traditional way. Unfortunately (there’s that word again!) that left shallow grooves visible, since I had machined the groove slightly below the plate inside. By the time I had sanded that all flat, the plate edge was under 2 mm. My solution was to apply a Walnut shim all around. Yes, it increases the weight. The belly plate weight went from 81 g to 99 g. But that’s with the Bass Bar in place in the latter measurement, so the wight gain was less than I had feared.
The tap tones stayed pretty much the same as before: Mode 5 at 349 Hz (F4) and Mode 2 at 152 Hz (D#3).
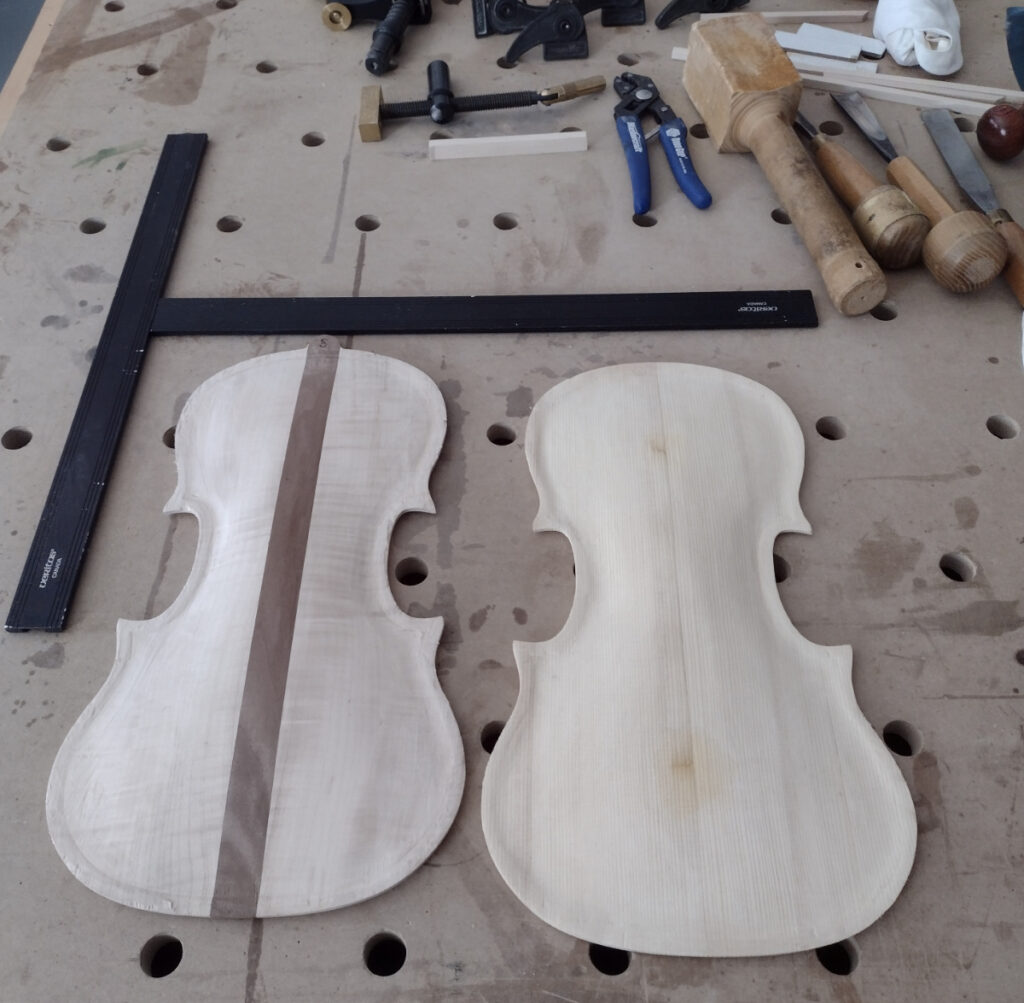
The linings are glued to the tops of the ribs. The alignment pin holes are drilled. I just need a router bit with a top bearing so I can trim the belly plate to the same profile as the ribs. Most of the perimeter is fine, but the C Bout areas have a bit of excess plate showing. I could sand it back manually, but a guided router bit will hopefully do a cleaner and more consistent job.